ClarkVision.com
| Home | Galleries | Articles | Reviews | Best Gear | Science | New | About | Contact |
Basic Camera Settings for Photography
by Roger N. Clark.
| Home | Galleries | Articles | Reviews | Best Gear | Science | New | About | Contact |
by Roger N. Clark.
My Basic Camera Settings and Imaging Strategy
Photography is a constant compromise in choosing settings to record an image. Note, there are no absolutes. Here I describe what works well for my photography. What works well in one situation may not in another. If you find the settings below too complicated, see the Caveats, Caveats, Caveats section at the end. But once you are ready to push your photography to higher levels, try these settings and methods.
Below when I describe autofocus, I am referring to DSLRs. If you are using a point and shoot camera with contrast detect AF, speed is severely compromised, so photographing moving subjects is a challenge. But other strategies still apply to point and shoot cameras.
Here is how I set up my DSLR camera:
The ONLY time I'll use more than one AF point is when tracking a subject in clear sky. Any other time, using more than one AF point can allow the camera to lock onto something in the background (or foreground). Sometimes I have used AF expansion (camera may select additional AF points around the single point I select), but too often these points may include background things and throw off the focus. I pretty much only use one AF point these days. Note the active AF area is larger than the AF rectangle in the viewfinder. See Understanding DSLR Autofocus
Use single shot mode only if the camera is on a tripod and the subject is not moving. In single shot mode, the camera's AF system determines focus and locks it on that spot. If the subject moves or you move (e.g. swaying), then the subject might go out of focus.
Some say to stop down a stop or two for maximum sharpness of the lens. Well, OK, but if you want to blur the background, a wider aperture may be more important than a small change in sharpness. For example, if stopped down displayed an ugly background, and wide open blurs it adequately, I would choose wide open. Or if stopping down would mean blur from subject movement due to a longer exposure time, I would open wide to freeze the action if that was my intent. A little loss in sharpness is usually less objectionable than motion blur of the subject. Note also that some pro lenses generally do better when wide open so there is little change in sharpness when stopping down a stop or two.
Exception: Night photography of stars needs a high ISO, but not too high. See Nightscape Photography with Digital Cameras for more information
I use the above methods for most photography, including people, pets, and even landscape. But with static subjects like landscapes on a tripod, then I change from servo mode to one shot focus lock mode.
Examples
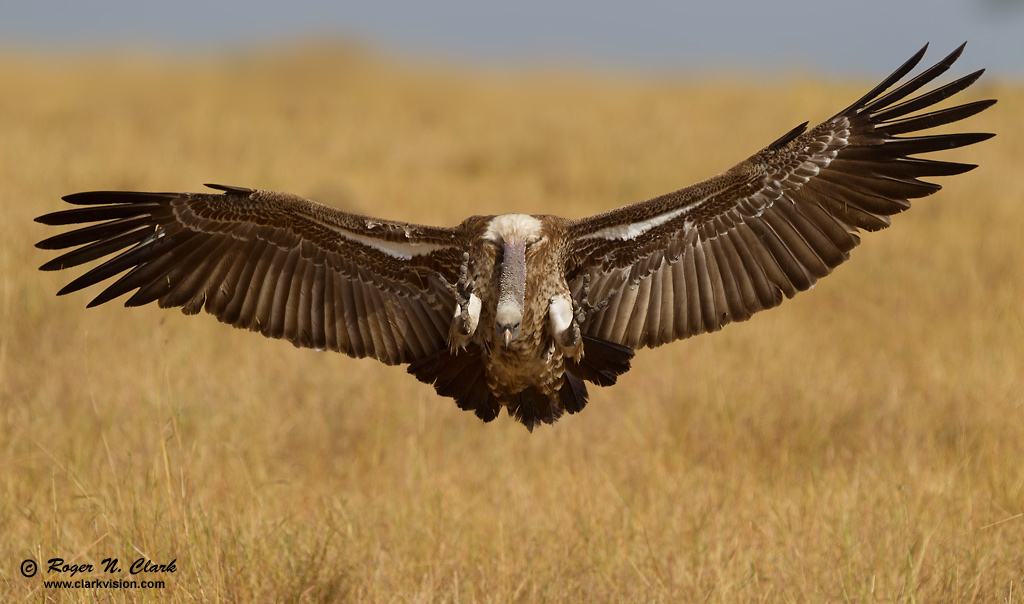
A vulture comes in to a kill on the northern Serengeti. Photographed
with a 300 mm lens with 1.4x teleconverter, AI servo tracking, manual exposure.
The light was the constant warm light of early morning, with no shadows on the
subject, thus a constant exposure was used, determined earlier to not saturate
the white patches on the bird. Yes, light from the rising sun is not constant,
but it is close to constant over several minutes once the sun clears the horizon
and especially so in a clear sky. One needs to check exposure only every five to ten
minutes. Image made at 420 mm, f/5.6, 1/1600 second, ISO 200, hand held.
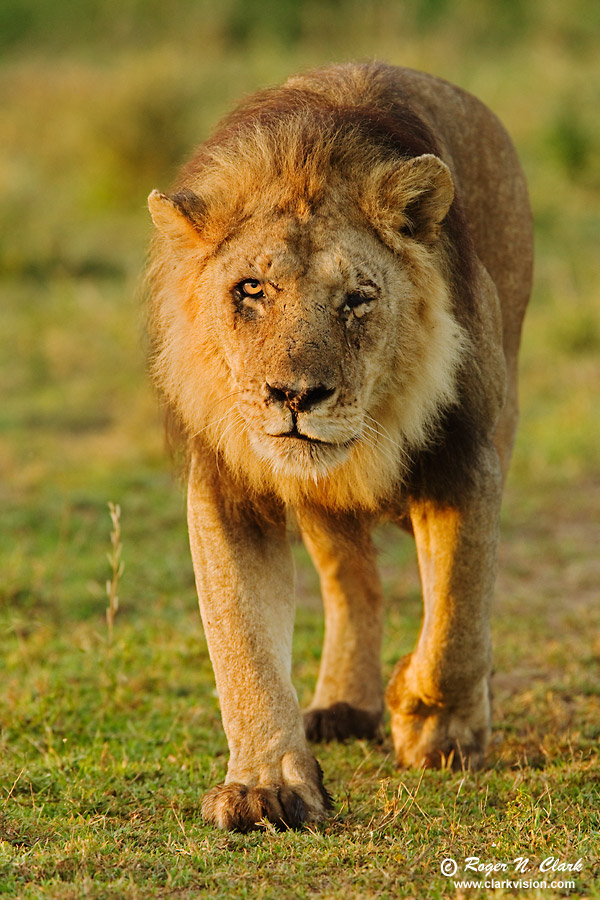
A lion heads back to his pride after a fierce battle in the southern Serengeti.
Photographed with a 300 mm lens with 1.4x teleconverter, AI servo tracking,
exposure by aperture priority (I chose the f/ratio, camera chose exposure time).
The lion was moving through a forest just after sunrise at a speed of
1.7 meters per second (3.8 miles per hour), with the light from the
left. Thus he was moving into shade and sun. With the rapidly changing light,
manual exposure could not be done, so I chose aperture priority. But the strong
light on the side of hi legs and face meant I needed to include some exposure
compensation in order to not overexpose the brightest parts. The light was changing
every few seconds on the lion. Image made at 420 mm, f/5.6, 1/250 second, ISO 800
using a beanbag.
I placed a single AF sensor on the open eye, near the rule of thirds point.
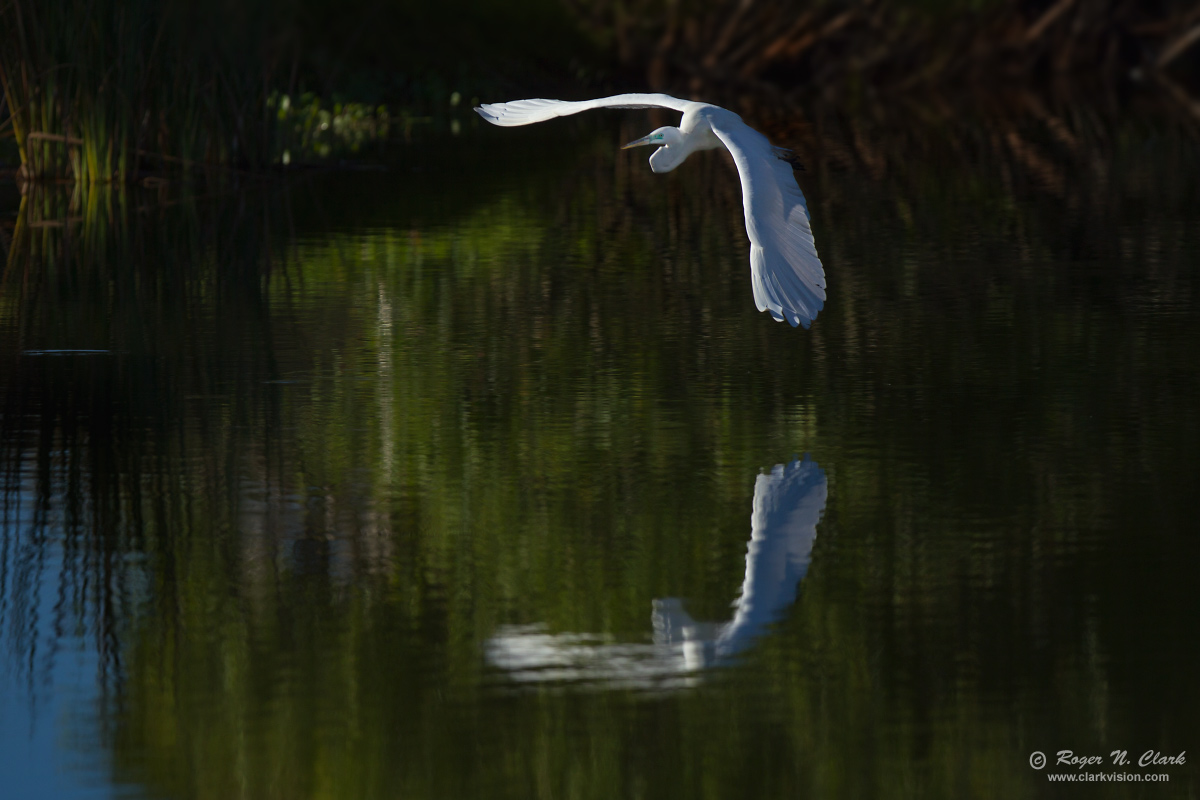
A beautiful white bird, a great egret, swoops over a lake in backlit sunlight,
with the background is deep dark shadow. Most automated camera metering
would fail in such a situation and severely overexpose the bird. Most spot
meters in cameras do not have a spot small enough, and it would be difficult
to keep that spot on the brightest part of the bird. So I used manual
exposure. I planed for this image and set my focus point to above center
so I could also get the reflection.
I set the exposure on white birds nearby that were in full sun.
Made with a 300 mm lens at f/4.5, 1/3200 second exposure, ISO 200, hand held.
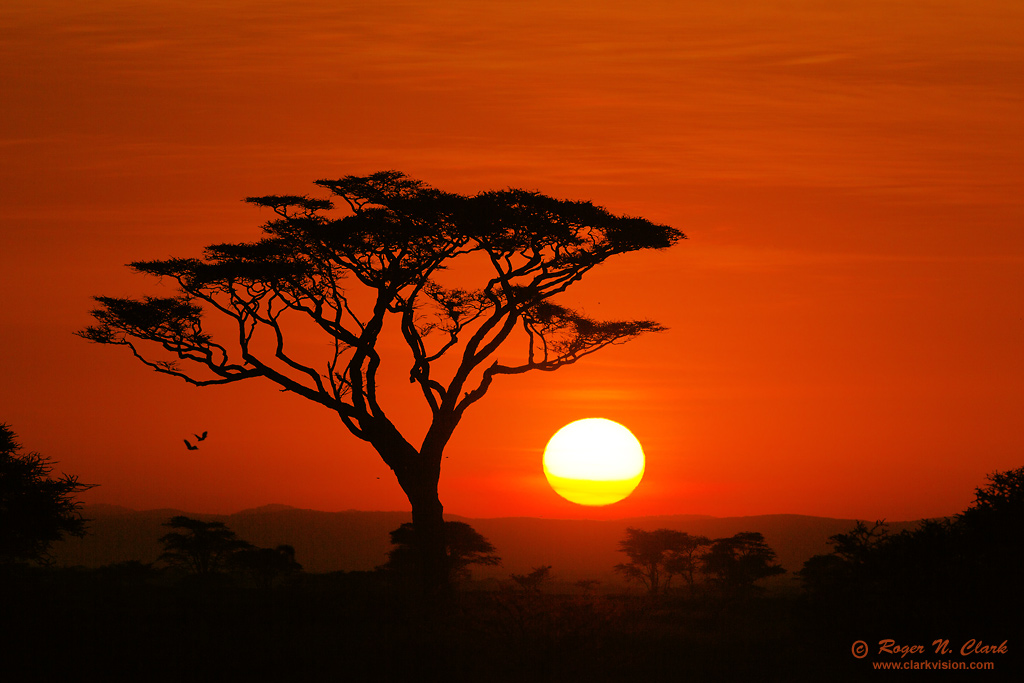
Serengeti sunrise. This image was made using manual exposure to control
the bright sunlight and well as very red sky. I took test exposures
and displayed the 3-color RGB histogram (I only look at the histograms
for each color channel, not the default luminance histogram). I chose an
exposure that did not saturate the red but slightly overexposed parts
of the disk of the sun. Image made
in AI-servo mode, 300 mm lens at f/8, ISO 100, single AF (central)
point on the tree branches, using a beanbag from a safari vehicle.
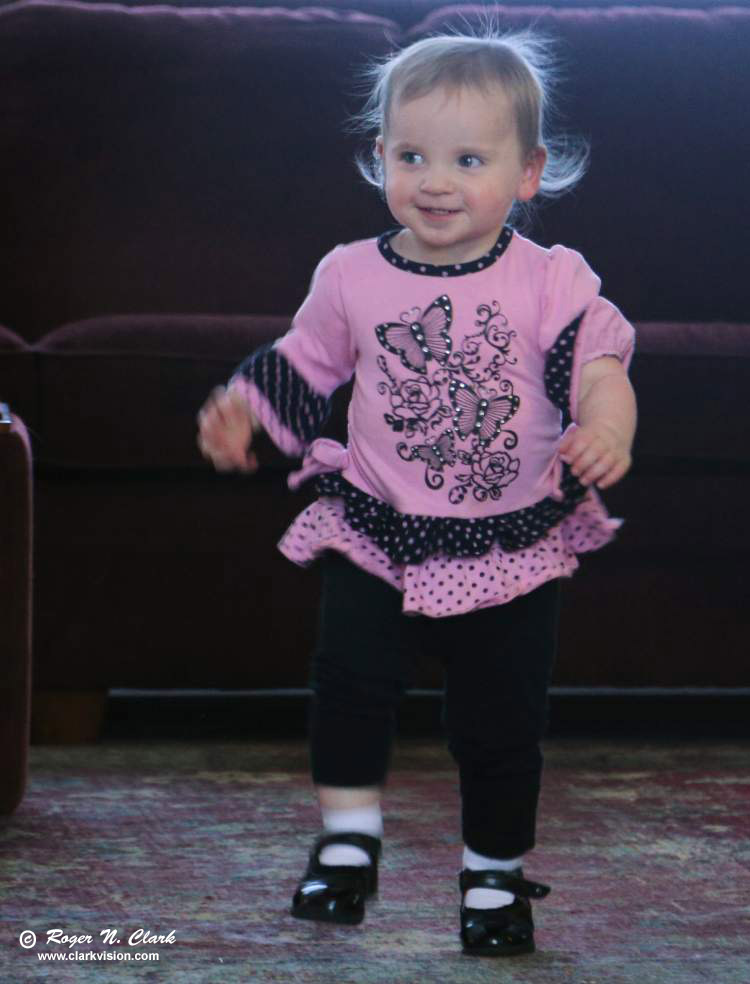
A child running in low indoor light. The camera was in vertical (portrait) orientation and
one focus point was on the eye. Exposure used aperture priority, wide open at
f/4, 105 mm focal length, 1/50 second at ISO 1600. One focus point
with AI servo tracking, hand held. The lower shutter speed shows motion, but in the
key components, like the legs and arms, but the eyes and face are sharp.
This image was a harder situation than with the lion image above,
including 10 times less light and faster random movements! It was also harder
to get than the bird image above due to fast random movements of the child.
Additional Info
This page describes the servo mode more and how one tracks a subject with a camera: Tracking Action With Autofocus.
Finally, watch the backgrounds. While one may have blurred the background pretty well, but out-of-focus sticks coming out of a person or bird's head usually ruins an image. Try moving slightly left or right to avoid this or used a wider aperture.
Be aware on the common problem of images that show the softness typical of zoom telephotos. For those considering telephotos, you will get better image quality with a fixed focal length lens, even with teleconverters. Fixed focal length lenses usually have much faster autofocus than zooms, especially consumer zooms.
For example, Figure 10 on this page: http://clarkvision.com/articles/moon-test2 shows the difference between a Canon 100-400 L IS lens at 400 mm versus a Canon 300 mm f/4 L IS with a 1.4x TC. The 300mm is clearly sharper and would be against all other telephoto zooms (except the Canon and Nikon 200-400 telephotos which run many thousands of dollars). The difference would be larger compared to a consumer zoom telephoto.
A 300 f/4 +TC (both Canon and Nikon have these, not sure about Sony, Pentax) will produce sharper images than zoom lenses and is a great starter lens for wildlife photography.
For those of you with zoom telephotos, next time there is a moon out that is similar in phase to the images on the above (moon-test2) web page, image the moon when very high in the sky and see how your lenses + technique compare.
Also a note on filters on such big lenses: most filters will probably degrade image quality. See: http://clarkvision.com/articles/evaluating_filter_quality
Caveats, Caveats, Caveats
If the above is too complex for you at this stage of your learning, no problem. In my opinion, it is more important to learn lighting, composition and the subject than it is to fret over ISO, f/ratio and exposure times. So I recommend simply using the auto modes on your camera. For example, portrait mode for making people and pet portraits, landscape mode for general scenery, and sports mode for action, including things like baby's first steps. You'll likely find that the exposure modes do very well most of the time. But as you push to new limits, from faster action to unusual lighting like back light, one can make better images by taking control of the camera and using settings like I describe above.
| Home | Galleries | Articles | Reviews | Best Gear | Science | New | About | Contact |
http://clarkvision.com/articles/basic.camera.settings
First Published April 2, 2014
Last updated December 1, 2014